End-to-end
NoirJS works both on the browser and on the server, and works for both ESM and CJS module systems. In this page, we will learn how can we write a simple test and a simple web app to verify the standard Noir example.
You can find the complete app code for this guide here.
Before we start
Feel free to use whatever versions, just keep in mind that Nargo and the NoirJS packages are meant to be in sync. For example, Nargo 0.18.x matches noir_js@0.18.x, etc.
In this guide, we will be pinned to 0.17.0.
Make sure you have Node installed on your machine by opening a terminal and executing node --version. If you don't see a version, you should install node. You can also use yarn if you prefer that package manager over npm (which comes with node).
First of all, follow the the Nargo guide to install nargo version 0.17.0 and create a new project with nargo new circuit. Once there, cd into the circuit folder. You should then be able to compile your circuit into json format and see it inside the target folder:
nargo compile
Your folder structure should look like:
.
└── circuit
    ├── Nargo.toml
    ├── src
    │   └── main.nr
    └── target
        └── circuit.json
Starting a new project
Go back to the previous folder and start a new project by running run npm init. You can configure your project or just leave the defaults, and see a package.json appear in your root folder.
Installing dependencies
We'll need two npm packages. These packages will provide us the methods we need to run and verify proofs:
npm i @noir-lang/backend_barretenberg@^0.17.0 @noir-lang/noir_js@^0.17.0
To serve our page, we can use a build tool such as vite. Because we're gonna use some wasm files, we need to install a plugin as well. Run:
npm i --save-dev vite rollup-plugin-copy
Since we're on the dependency world, we may as well define a nice starting script. Vite makes it easy. Just open package.json, find the block "scripts" and add this just below the line with "test" : "echo.......":
"start": "vite --open"
If you want do build a static website, you can also add some build and preview scripts:
    "build": "vite build",
    "preview": "vite preview"
Vite plugins
Vite is great, but support from wasm doesn't work out-of-the-box. We're gonna write a quick plugin and use another one. Just copy and paste this into a file named vite.config.js. You don't need to understand it, just trust me bro.
import { defineConfig } from 'vite';
import copy from 'rollup-plugin-copy';
import fs from 'fs';
import path from 'path';

const wasmContentTypePlugin = {
  name: 'wasm-content-type-plugin',
  configureServer(server) {
    server.middlewares.use(async (req, res, next) => {
      if (req.url.endsWith('.wasm')) {
        res.setHeader('Content-Type', 'application/wasm');
        const newPath = req.url.replace('deps', 'dist');
        const targetPath = path.join(__dirname, newPath);
        const wasmContent = fs.readFileSync(targetPath);
        return res.end(wasmContent);
      }
      next();
    });
  },
};

export default defineConfig(({ command }) => {
  if (command === 'serve') {
    return {
      plugins: [
        copy({
          targets: [{ src: 'node_modules/**/*.wasm', dest: 'node_modules/.vite/dist' }],
          copySync: true,
          hook: 'buildStart',
        }),
        command === 'serve' ? wasmContentTypePlugin : [],
      ],
    };
  }

  return {};
});
HTML
Here's the simplest HTML with some terrible UI. Create a file called index.html and paste this:
<!DOCTYPE html>
<head>
  <style>
    .outer {
        display: flex;
        justify-content: space-between;
        width: 100%;
    }
    .inner {
        width: 45%;
        border: 1px solid black;
        padding: 10px;
        word-wrap: break-word;
    }
  </style>
</head>
<body>
  <script type="module" src="/app.js"></script>
  <h1>Very basic Noir app</h1>
  <div class="outer">
    <div id="logs" class="inner"><h2>Logs</h2></div>
    <div id="results" class="inner"><h2>Proof</h2></div>
  </div>
</body>
</html>
Some good old vanilla Javascript
Create a new file app.js, which is where our javascript code will live. Let's start with this code inside:
document.addEventListener('DOMContentLoaded', async () => {
  // here's where the magic happens
});

function display(container, msg) {
  const c = document.getElementById(container);
  const p = document.createElement('p');
  p.textContent = msg;
  c.appendChild(p);
}
We can manipulate our website with this little function, so we can see our website working.
Adding Noir
If you come from the previous page, your folder structure should look like this:
├── app.js
├── circuit
│   ├── Nargo.toml
│   ├── src
│   │   └── main.nr
│   └── target
│       └── circuit.json
├── index.html
├── package.json
└── vite.config.js
You'll see other files and folders showing up (like package-lock.json, yarn.lock, node_modules) but you shouldn't have to care about those.
Importing our dependencies
We're starting with the good stuff now. At the top of the new javascript file, import the packages:
import { BarretenbergBackend } from '@noir-lang/backend_barretenberg';
import { Noir } from '@noir-lang/noir_js';
We also need to import the circuit JSON file we created. If you have the suggested folder structure, you can add this line:
import circuit from './circuit/target/circuit.json';
Write code
We're gonna be adding code inside the document.addEventListener...etc block:
// forget stuff here
document.addEventListener('DOMContentLoaded', async () => {
  // here's where the magic happens
});
// forget stuff here
Our dependencies exported two classes: BarretenbergBackend and Noir. Let's init them and add some logs, just to flex:
const backend = new BarretenbergBackend(circuit);
const noir = new Noir(circuit, backend);
Proving
Now we're ready to prove stuff! Let's feed some inputs to our circuit and calculate the proof:
const input = { x: 1, y: 2 };
display('logs', 'Generating proof... ⌛');
const proof = await noir.generateFinalProof(input);
display('logs', 'Generating proof... ✅');
display('results', proof.proof);
You're probably eager to see stuff happening, so go and run your app now!
From your terminal, run npm start (or yarn start). If it doesn't open a browser for you, just visit localhost:5173. On a modern laptop, proof will generate in less than 100ms, and you'll see this:
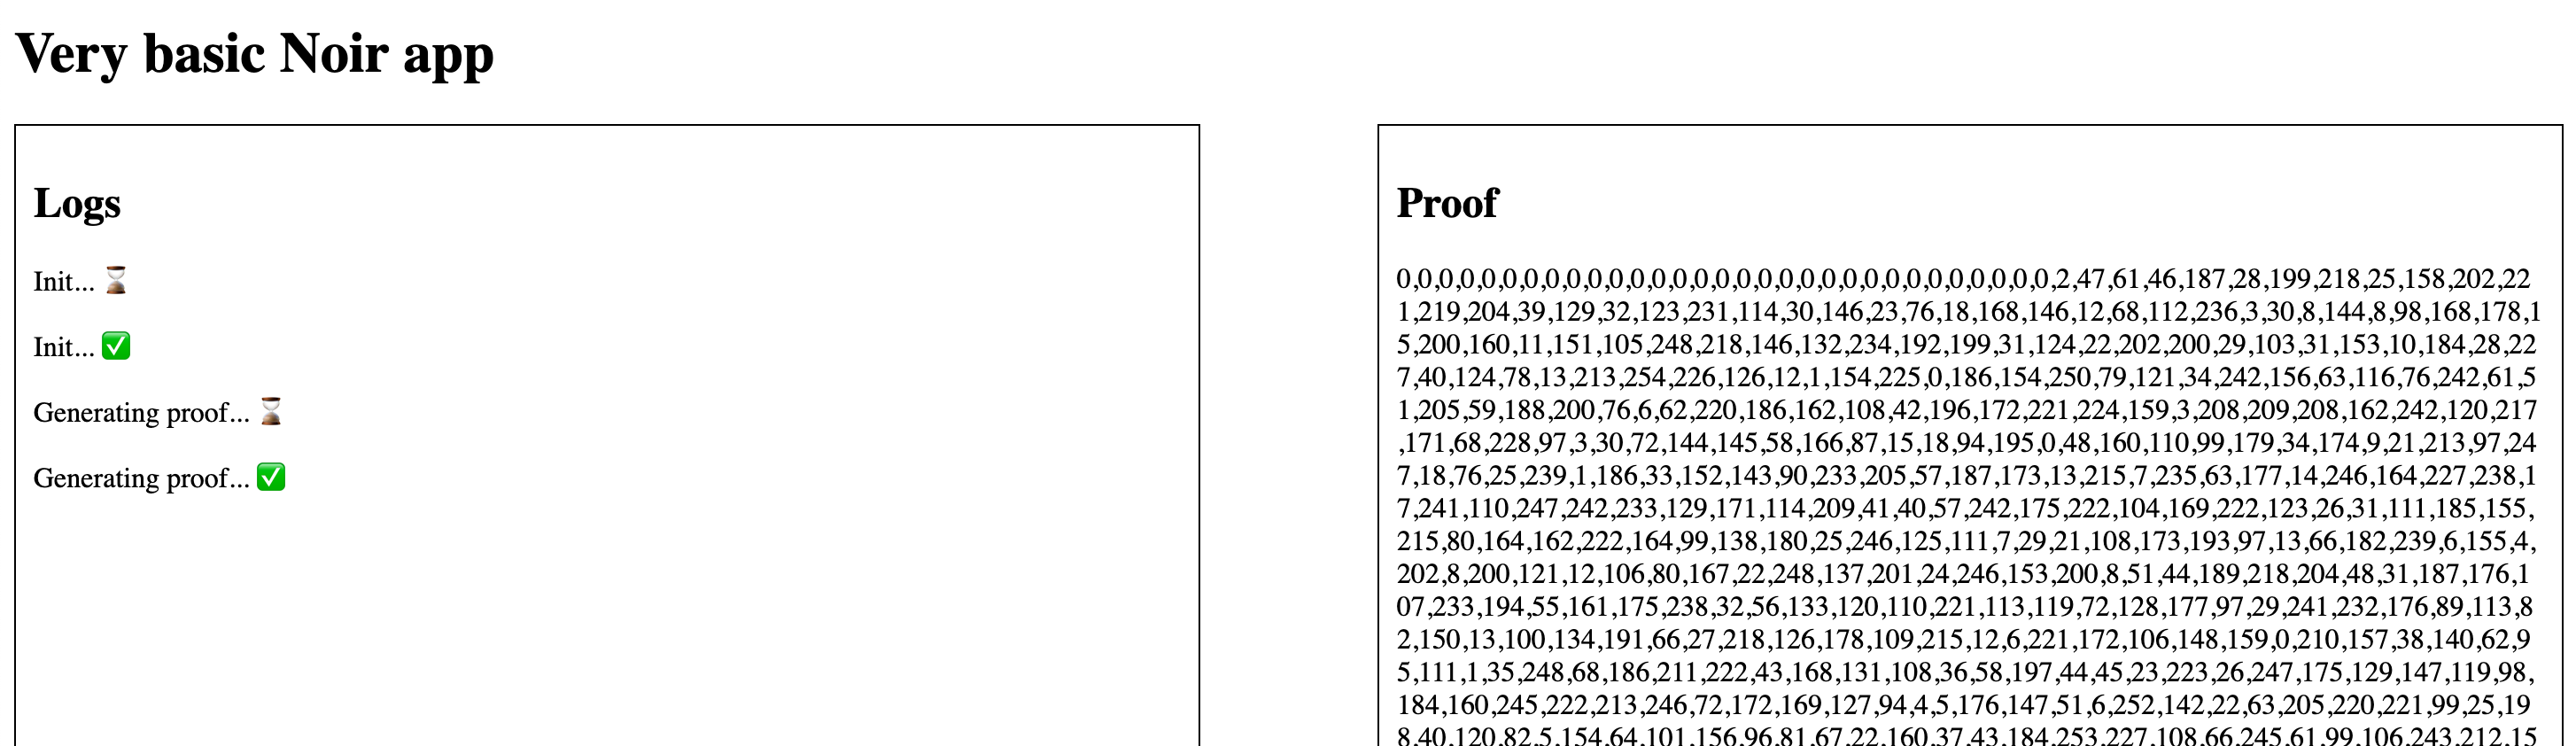
If you're human, you shouldn't be able to understand anything on the "proof" box. That's OK. We like you, human.
In any case, this means your proof was generated! But you shouldn't trust me just yet. Add these lines to see it being verified:
display('logs', 'Verifying proof... ⌛');
const verification = await noir.verifyFinalProof(proof);
if (verification) display('logs', 'Verifying proof... ✅');
By saving, your app will refresh and here's our complete Tiny Noir App!
You can find the complete app code for this guide here.
Further Reading
You can see how noirjs is used in a full stack Next.js hardhat application in the noir-starter repo here. The example shows how to calculate a proof in the browser and verify it with a deployed Solidity verifier contract from noirjs.
You should also check out the more advanced examples in the noir-examples repo, where you'll find reference usage for some cool apps.